You may notice that my frogs are constructed out of nothing more than simple geometric shapes. I used to draw them by hand this way, but now I draw them as Scalable Vector Graphics in Inkscape. Since SVG defines the shapes using mathematical formulas you might say that the frogs are made out of math. Yesterday my daughter wanted to make a craft, and I came up with this idea: making frogs out of paper!
I made up some templates for the parts of one of my frogs and printed them out on colored paper. We cut and glued the paper together with some cardboard and had some fun. Now I'm going to share the fun with you!
Step 0.
You'll need some thick cardboard, scissors, glue, a marker, and colored paper. Print out the templates of the different pieces on colored paper (see links below). Print the body template on green paper, the bellies template on yellow, and the eyes on white. Or use other colors if you want some more interesting frogs!
Frog Body Template
Frog Belly Template
Frog Eyes Template
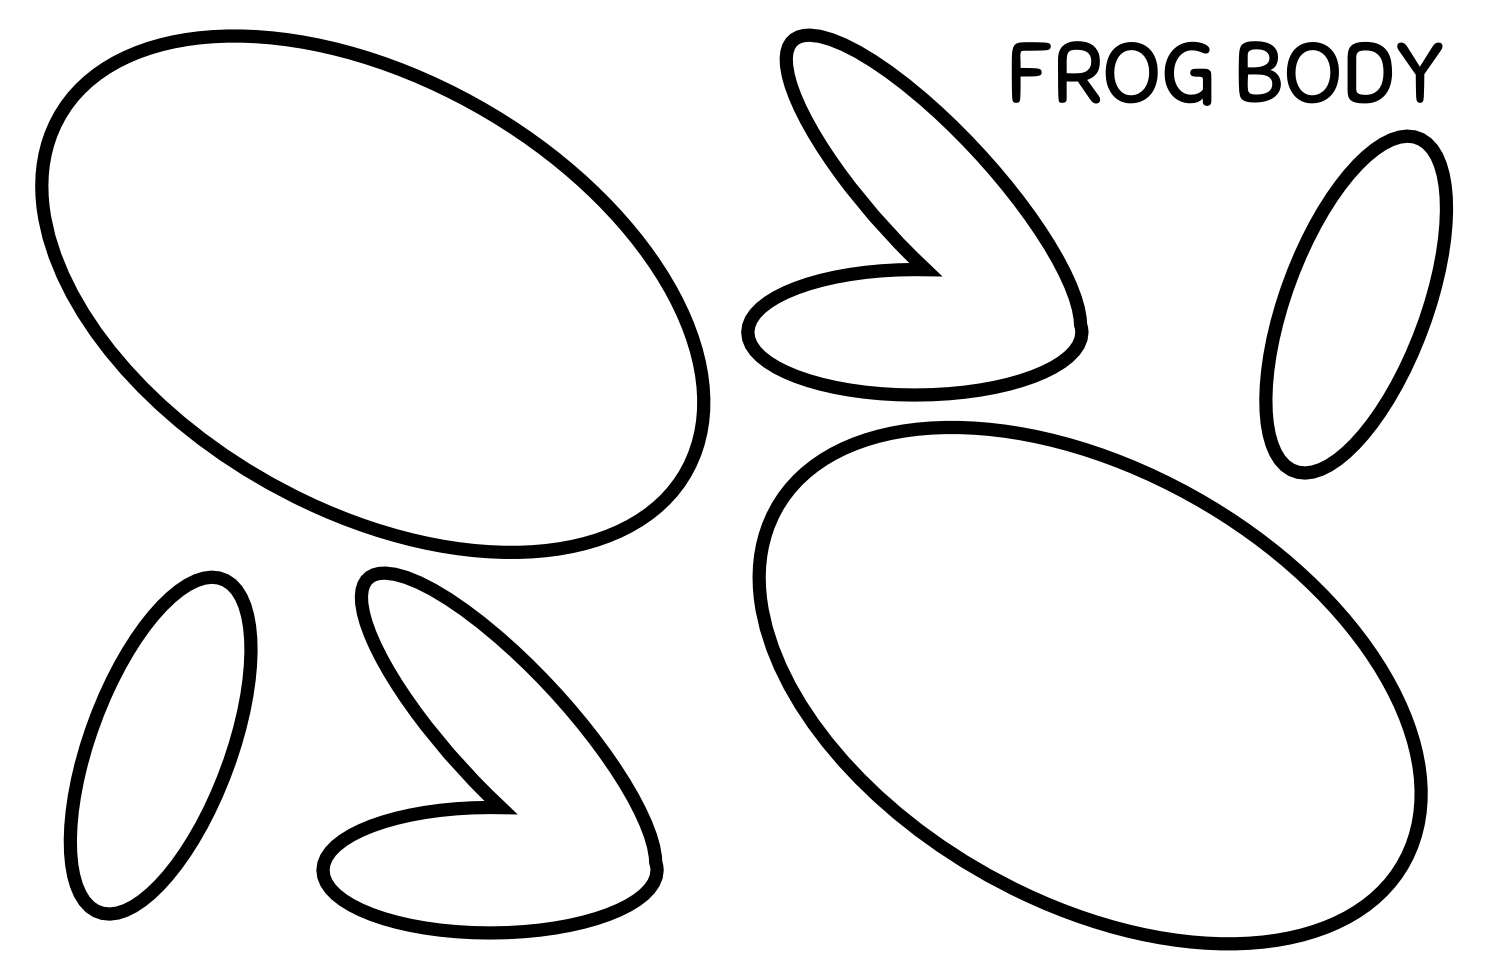 |
| Frog Body - Print on Green Paper |
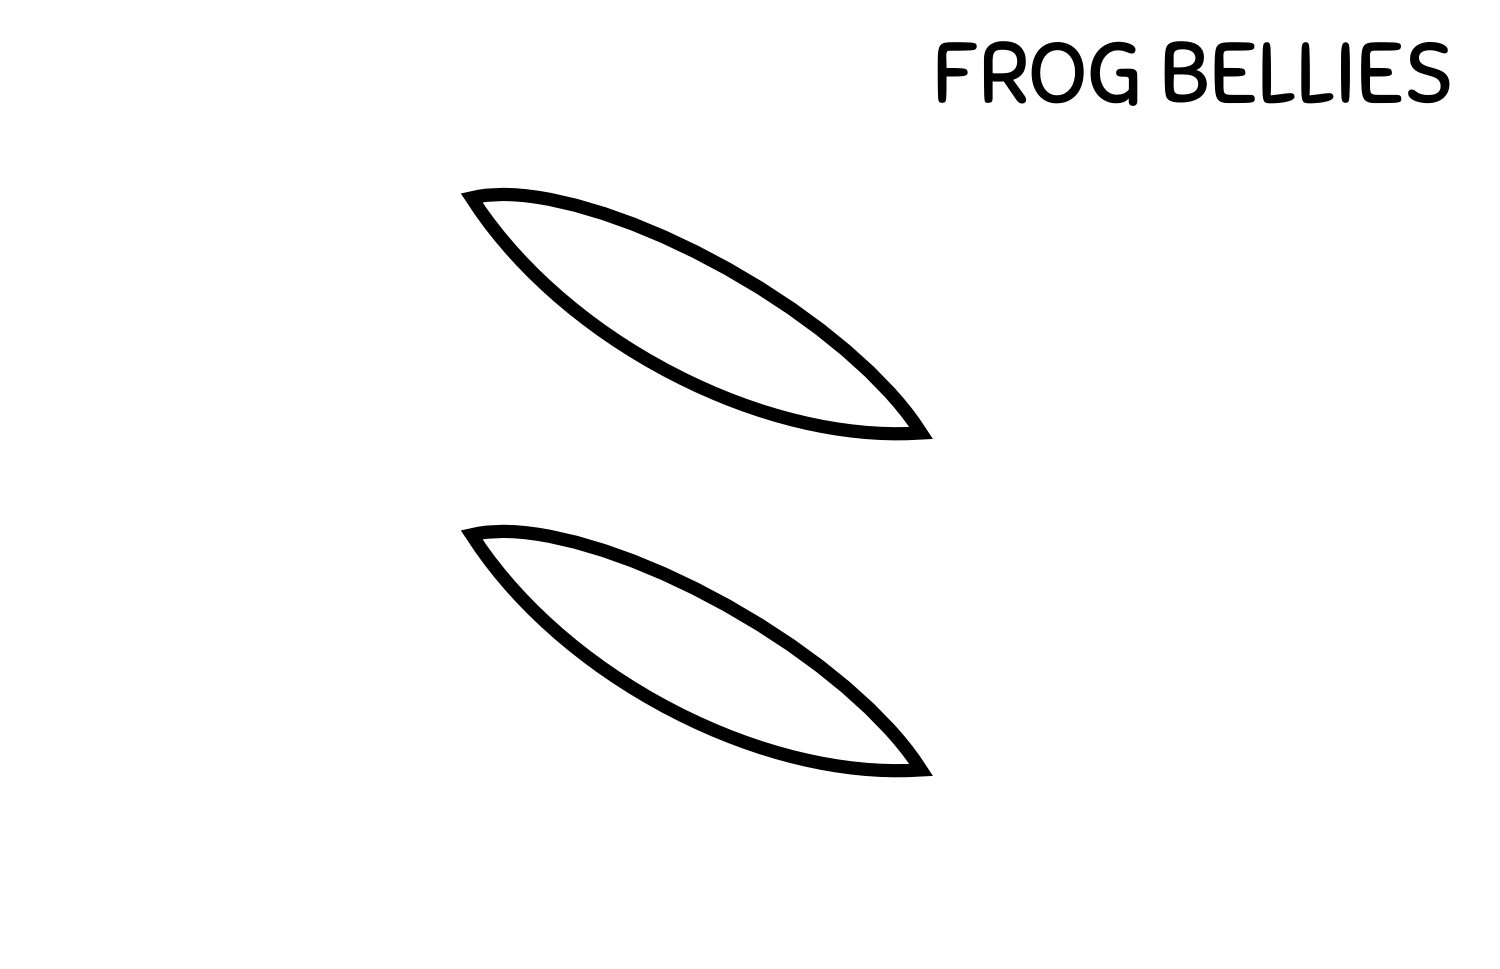 |
| Frog Bellies - Print on Yellow Paper |
 |
| Frog Eyes - Print on White Paper |
Step 1.
Cut out all the frog parts. Get a fun color paper for your background (I use purple in my example). Glue the back eye, arm, and leg on your paper something like the following picture.

Step 2.
Glue one of the body pieces on top of the eye, arm, and leg. Glue one of the belly pieces on top of that.

Step 3.
Cut out some cardboard pieces and glue them on as pictured below. The thicker the cardboard, the better. It will give the frog some depth.

Step 4.
Glue the other body piece on top of the cardboard. Glue the other belly piece on top of that. In the picture below, I have the body slightly transparent so you can see the placement.

Step 5.
Glue the second eye, arm, and leg on top of the body and exposed cardboard pieces. Again, I use transparency in the picture to help show the placement of the parts.

Step 6.
Almost done! Get your marker and draw in the eyes and mouth. Your frog craft is complete!

Here are the ones I made with my daughters, but that was before I wrote these nice instructions. Yours should turn out even better.

Send me pictures of your complete crafts!
 |
| Amphibian.com comic for 8 December 2014 |
No comments:
Post a Comment